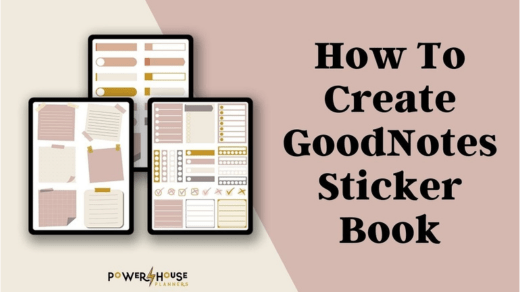
Creating pre-crop digital stickers for GoodNotes or other note-taking apps involves preparing images or designs that can be easily cropped and used as stickers within the app. Here’s a step-by-step guide to create pre-crop digital stickers:
Tools You’ll Need:
- Digital Design Software: You’ll need software like Adobe Photoshop, Adobe Illustrator, or a free alternative like GIMP or Inkscape for creating and editing your sticker designs.
- Image Files: You can use your own images or graphics, or you can find royalty-free images and illustrations online.
- Tablet or Graphics Pen (Optional): If you’re comfortable with drawing, you can use a tablet or graphics pen to create custom designs.
Steps:
- Create or Choose Sticker Designs:
- Start by designing or selecting the images you want to turn into stickers. These could be illustrations, text, icons, or any other graphics that you find useful.
- Set the Canvas Size:
- Open your digital design software and create a new document. Set the canvas size to the dimensions you want your stickers to be. A common size for stickers is around 300×300 pixels, but you can choose the size that works best for your needs.
- Design the Stickers:
- Design each sticker within the canvas area. You can create multiple stickers on the same canvas, or create individual files for each sticker. Be sure to leave some space around each sticker to accommodate cropping.
- Add Transparent Background (Optional):
- If you want your stickers to have transparent backgrounds, make sure the background of your sticker design is transparent. You can usually achieve this by setting the background layer to transparency or using a PNG format, which supports transparency.
- Export as PNG:
- Once your sticker designs are complete, export each design as a PNG file. PNG is a common format for digital stickers because it supports transparency.
- Organize Your Stickers:
- Create a folder on your computer to organize your sticker PNG files. Give each file a descriptive name so you can easily identify them later.
- Import to GoodNotes or Note-Taking App:
- Open GoodNotes or your preferred note-taking app.
- Create a new notebook or open an existing one where you want to use the stickers.
- Go to the page where you want to add stickers.
- Import the PNG files you created as images. You can usually do this by tapping or clicking on an “Import” or “Add Image” option within the app.
- Crop and Use:
- Once the stickers are imported into your note-taking app, you can crop and resize them as needed. Most note-taking apps, including GoodNotes, have a cropping tool that allows you to select the portion of the image you want to use as a sticker.
- After cropping, you can freely move and resize the stickers within your notes.
- Save and Export:
- Be sure to save your work in the note-taking app to retain your sticker placements.
- If you want to share your notes or stickers with others, you can usually export them as PDFs or image files.
By creating pre-crop digital stickers, you make it easier to use and arrange stickers within your note-taking app. This can save you time and make your digital note-taking experience more enjoyable and organized.

